Find My Local Expert Steps to Unclogging Without a Plunger...
Read More
Stop the Drip: Easy Steps to Fix Leaking Toilet Cistern
A leaking toilet cistern is not only annoying but can also lead to a significant increase in your water bill. Fortunately, fixing a leaking toilet cistern is an easy task that can be done in a few simple steps.
In this article, we will guide you through the process of fixing a leaking toilet cistern. You will learn how to identify the source of the leak, what tools you need, and how to make the necessary repairs.
By following these easy steps, you can save yourself money on your water bill and prevent further damage to your toilet and bathroom. So, let’s get started and stop that pesky drip!
What is a Toilet Cistern?
The toilet cistern, also known as the toilet tank, is an essential component of any modern toilet. It is the part of the toilet that stores the water used for flushing and filling up the bowl after use.
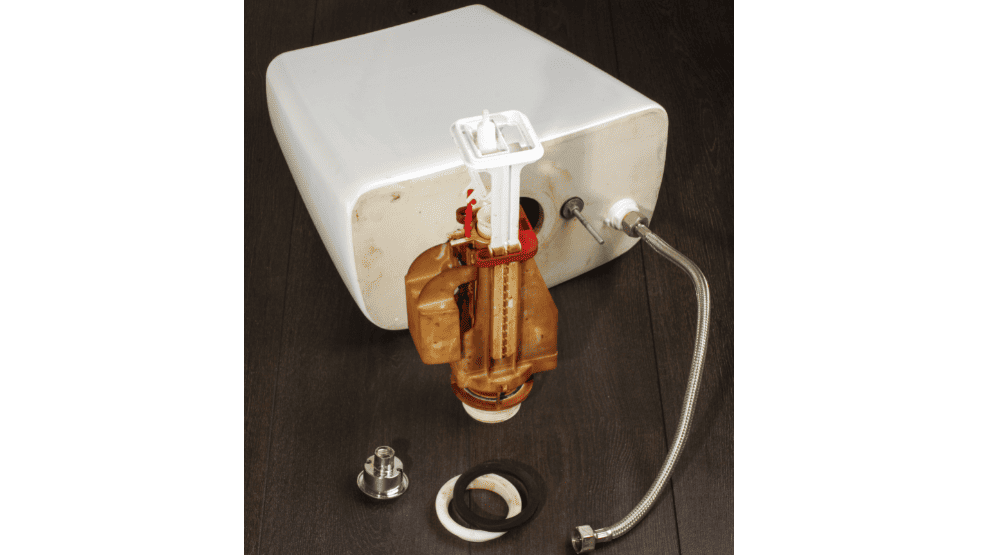
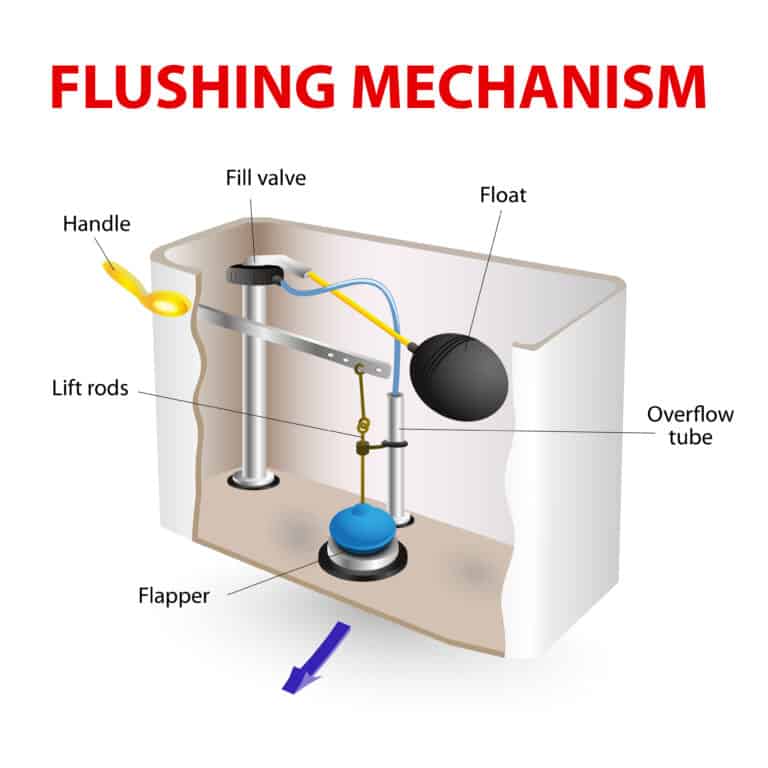
Typically located above or behind the toilet bowl, the cistern usually contains several parts, such as the inlet valve, float valve, outlet valve, flush valves, overflow tube, and more. These parts work together to ensure a proper water supply level and efficient flushing system. Understanding the function of each part is crucial for maintaining and fixing any issues that may arise with the toilet cistern.
Identifying a Toilet Cistern Leak
Toilet cistern leaks are a common issue in many households. Not only are they frustrating, but they can also waste a significant amount of water and increase your utility bills. Fortunately, identifying and fixing a leaking toilet cistern is a relatively straightforward process. In this section, we will discuss some of the ways to spot a leak and what causes toilet cisterns to drip or leak. By understanding the sources of the problem and how to detect them, you can save yourself a lot of hassle, money, and help protect the environment.
Ways to spot a leak
To spot a leaking toilet cistern, there are several ways you can try to identify the issue. Firstly, you can place a sheet of dry toilet paper at the back of your toilet pan and leave it in place for about three hours. After this time, check the toilet paper for any signs of wetness. If the paper is damp or wet, this indicates that your cistern is leaking water. Another way to spot a leak in your toilet cistern is to listen for the sound of running water.
If you can hear water running inside the cistern even after you have flushed the toilet, this could be a sign that water is leaking from the cistern into the toilet bowl.
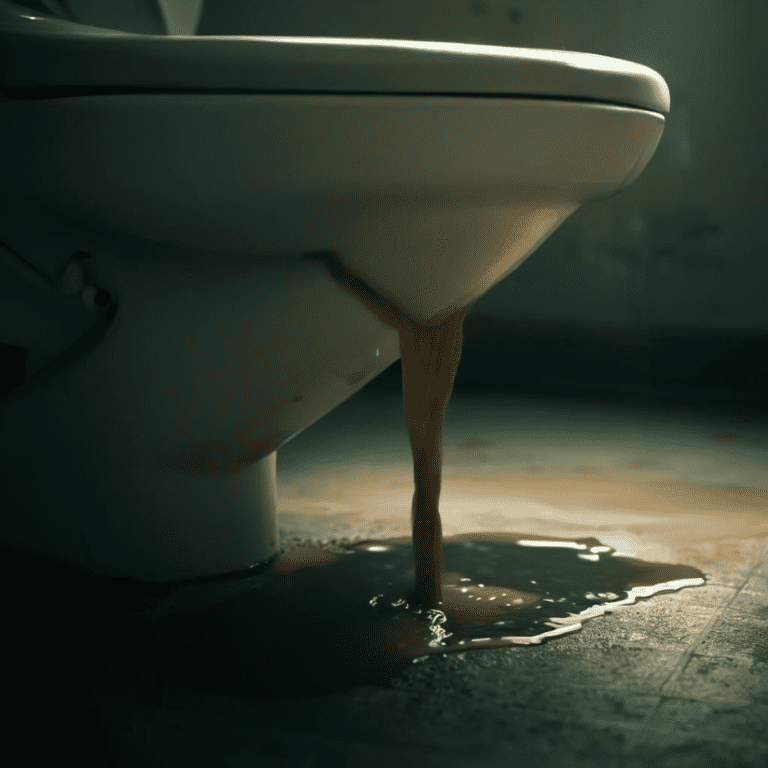
You should also check for any overflow or water leakage onto the bathroom floor. This can be a clear indication that water is leaking from the cistern and needs to be fixed. Sometimes, water leakage can be so rapid that it can cause damage to your bathroom floor, so it’s essential to get the problem fixed as soon as possible.
Finally, you should check the outdoor overflow pipe for any signs of leakage. The overflow pipe is usually located outside the bathroom window and can be easily identified by its curved shape. If there is water dripping or leaking from this pipe, this could be an indication that your toilet cistern is leaking and needs to be repaired.
By knowing these ways to spot a leak, you can easily detect if your toilet cistern is leaking water. Timely identification can help in quick repairs, avoid wastage of water, and protect your bathroom floor from damage.
What is the cause of toilet cisterns dripping or leaking?
Toilet cisterns can start to drip or leak for a variety of reasons. It’s important to understand these causes to accurately identify and fix your issue.
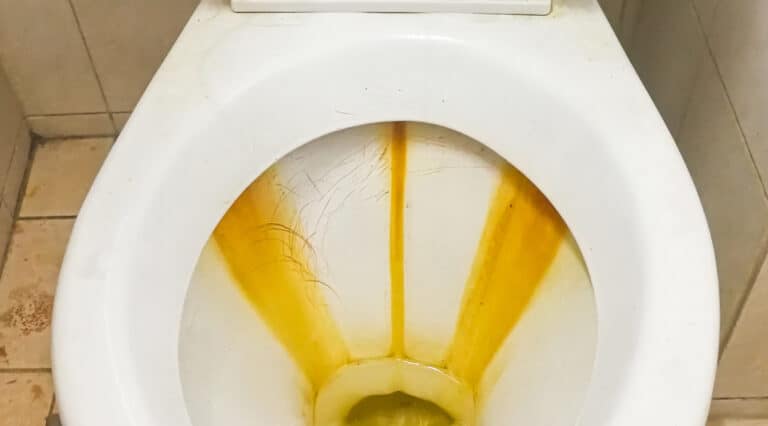
One cause of toilet cistern leaks is the build-up of limescale. This occurs when the water supply in your area contains high levels of minerals and deposits, which can accumulate and clog the valves and openings in your toilet cistern. The clogged valves can then lead to leaks and drips.
Another common cause of toilet cistern leaks is incorrectly fitted close-coupled toilets. The close-coupled toilet design features a flush tank mounted directly on top of the toilet bowl. If the toilet tank is not fitted correctly or the bolts holding it in place are not tightened enough, water can seep out from the cistern.
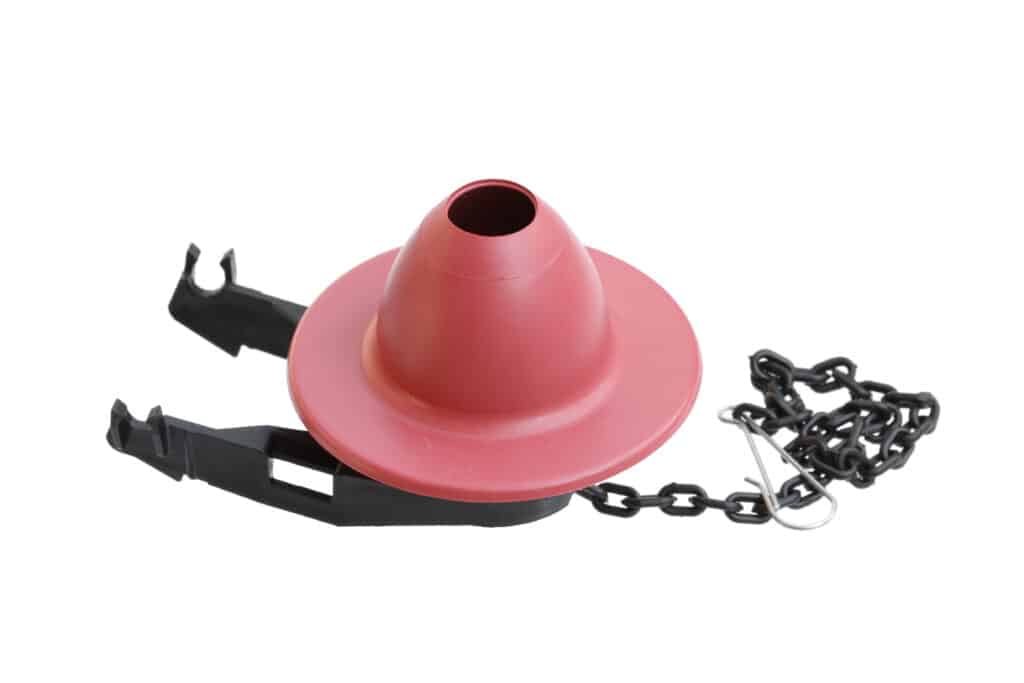
A faulty flapper also has the potential to cause a toilet cistern to leak or drip. The flapper is responsible for regulating the flow of water from the cistern into the toilet bowl. If the flapper is damaged or worn down, it may not seal the opening properly, resulting in water seeping out of the cistern.
Incorrectly adjusted water valves or float valves can also cause toilet cisterns to drip or leak. The water valve controls the water supply to the cistern, while the float valve regulates the water level in the cistern. If these valves are not adjusted properly, water may overflow from the cistern and lead to leaks.
Drainage issues, such as clogged pipes or blocked sewage lines, can also cause toilet cisterns to leak. When the toilet’s drainage system is blocked, water can back up into the cistern and cause leaks.
Finally, damaged seals may also cause toilet cistern leaks. The rubber seals around the flush pipe and outlet valve can wear over time and crack. A damaged seal can cause water to leak onto the bathroom floor from the cistern.
By understanding these potential causes of toilet cistern leaks, you can better diagnose your issue and take steps to fix it. It’s important to address leaks as soon as possible to prevent potential water damage and save on water bills.
Instructions on repairing a leaking toilet cistern
When it comes to fixing a leaking toilet cistern, there are a variety of issues that could be causing the problem. A damaged cistern can be caused by cracks or fractures to the material, while a damaged valve or float can result in water continuously running into the cistern. A malfunctioning valve or float may lead to inadequate water levels, while a faulty float mechanism can cause the water to overflow. Regardless of the cause, there are ways to fix these issues and prevent future water damage.
Damaged Cistern
If you are dealing with a damaged cistern, it can mean a lot of wasted water and inconvenience for users. Fixing this issue should be a top priority to avoid further water damage. The first step to address the problem is to turn off the water supply valve that connects to the cistern. This will prevent water from continuing to leak while you inspect and repair the damage.
Once the water supply is turned off, inspect the cistern to determine the extent of the damage. One common issue that could cause a damaged cistern is a malfunctioning flush pipe seal or a corroded bolt gasket. Check for leaks and assess the symptoms to determine what is causing the problem. If you are unsure about the issue, it’s always best to consult with a plumber.
If you feel confident in your ability to repair a damaged cistern, the next step is to drain any remaining water from the tank. Once the tank is drained, use an adjustable wrench and a pair of pliers to replace the damaged component. This may involve replacing the flush pipe seal, bolt gasket, or other components that can be causing the problem.
By following these steps and using the right tools, you can fix a damaged cistern and prevent any further water damage or inconvenience in using your toilet. Don’t hesitate to seek professional help if you’re uncertain or if the problem seems to be more severe than you can handle.
Damaged Valve Or Float
Another common cause of toilet cistern leaks is a damaged valve or float in the control mechanism. If this mechanism is not properly functioning, it could cause water to overflow from the cistern. This could be easily fixed by following these simple steps.
First, check if the float valve is closing properly by lifting the float and seeing if the running water stops. If the valve is not shutting off, you may need to adjust the level of the float or replace the washers in the inlet valve.
To adjust the valve, move the float down slightly, ensuring it is not obstructed by any elements in the cistern. Depending on the toilet model, you may also need to turn screws on top of the valve. If there are any loose components, replace the washers and tighten the bolts.
To adjust the valve, move the float down slightly, ensuring it is not obstructed by any elements in the cistern. Depending on the toilet model, you may also need to turn screws on top of the valve. If there are any loose components, replace the washers and tighten the bolts.
Excessive pressure could also create overflow problems. If the water pressure is too high and is causing leaks, consider installing a pressure-reducing valve to regulate the flow of water.
If other factors outside the cistern are causing leaks, such as faulty pipes or fixtures, it could lead to costly property damages. In such situations, it is best to call a professional plumber to investigate and fix the problem.
By following these steps and regularly inspecting your toilet cistern, you can easily identify and fix any damaged valves or floats that could potentially cause leaks.
Malfunctioning Valve
A malfunctioning valve in a toilet cistern is a common cause of leaks that can cause significant damage if not attended to promptly. This issue occurs when the valve fails to open even when the float is allowing it to. In such cases, it’s essential to find a solution to replace the valve. Here are the steps you can take to fix a malfunctioning valve in your toilet cistern.
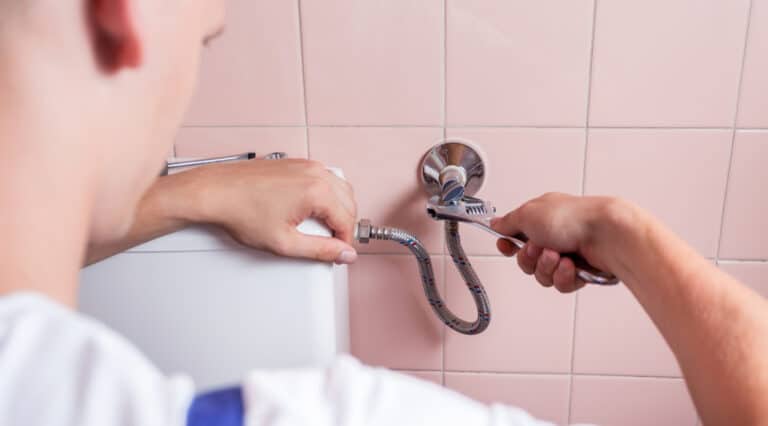
First, turn off the water supply to the toilet. You can do this by turning the shut-off valve located under the tank in a clockwise direction. Once you have turned off the water, flush the toilet to remove any remaining water from the tank.
Next, locate and disconnect the water supply tube that is connected to the bottom of the tank. To do this, you may need to use a pair of pliers to remove the nut holding the tube in place.
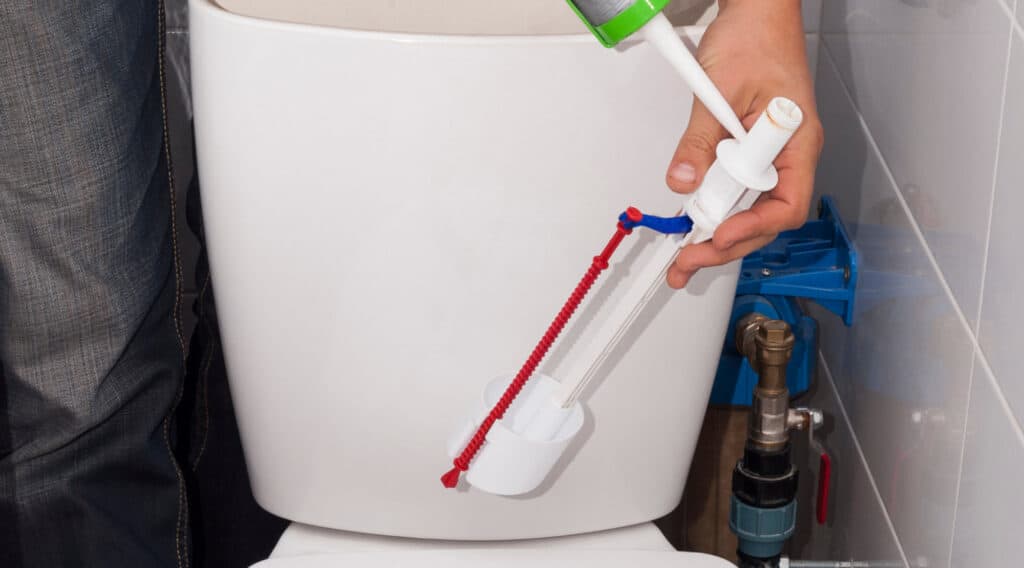
After disconnecting the water supply tube, use a wrench to unscrew the locknut that is holding the fill valve to the bottom of the tank. Carefully lift the old fill valve out of the tank through the top.
To install the new valve, follow the instructions provided by the manufacturer. Position the fill valve where the old valve was and secure it using the locknut. Then, reattach the water supply tube located behind the tank.
Turn the water supply back on and fill the tank. Finally, flush the toilet to test the new valve. Make sure to double-check all connections and tighten any loose bolts or nuts.
By following these steps, you can effectively fix a malfunctioning valve in your toilet cistern.
Float Mechanism Issue
One of the most common issues that homeowners experience with their toilet cistern is a problem with the float mechanism. This issue often leads to the fill valve not opening or closing at the right time, which can cause the tank to either remain empty or overfill.
Fortunately, there are a few things you can do to tackle this problem. First, you’ll need to inspect the float to determine if it’s obstructed or damaged. If so, you’ll need to remove the float and clean it thoroughly. If the float is damaged, you may need to replace it.
In addition to inspecting the float, you’ll also want to check if the fill valve washers are worn out and in need of replacing. This can be done by turning off the water supply to the toilet and removing the fill valve assembly from the tank. You can then inspect the washers and replace them if necessary.
If neither of these solutions fixes the issue, you’ll need to adjust the level of the float. To do this, you can move the float down or turn screws located on top of the valve. Adjusting the level of the float can be a bit tricky, so be sure to refer to your toilet’s user manual for specific guidance on how to make adjustments.
If the float mechanism issue continues to persist even after doing all of these things, there may be a malfunctioning valve causing the problem. In this case, you may need to hire a professional plumber to assess and fix the situation.
Conclusion
In conclusion, fixing a leaking toilet cistern can often be a simple DIY task with a few basic tools and some guidance. Key takeaways from this article include inspecting and cleaning the float mechanism, replacing worn-out washers, and adjusting the level of the float to ensure proper function of the fill valve. However, for more complex plumbing issues such as a malfunctioning valve, it’s crucial to hire a licensed plumber to accurately assess and fix the problem.
Moreover, it’s essential to emphasize the importance of regular maintenance to prevent future leaks. Simple tasks such as checking for leaks, cleaning the tank, replacing worn-out gaskets and seals can save you from major headaches and expenses in the long run. Timely maintenance can also help you avoid emergency repair calls that can be both costly and stressful.
Additionally, it’s always advisable to hire a licensed plumber for complex plumbing issues as incorrect repairs can do more harm than good. Regular maintenance schedules and checks on the toilet cistern and its components can help prevent future leaks, saving you from unwanted expenses. So always be proactive, vigilant, and seek professional help when needed.
Call an expert today!
You May Also Like...

How to Replace a Toilet Bowl
Find My Local Expert How to Replace a Toilet Bowl...
Read More
Hot Water Knob Isn’t Working
Find My Local Expert Hot Water Knob Isn’t Working Few...
Read More
Hot and Cold Water Knobs Not Working
Find My Local Expert Hot and Cold Water Knobs Not...
Read More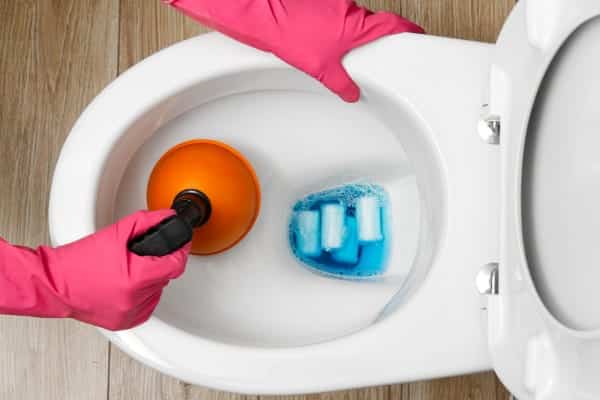
6 Reasons Why Your Toilet Bowl Isn’t Flushing
Find My Local Expert 6 Reasons Why Your Toilet Bowl...
Read MoreNeed Your Toilet Replaced?
My Trusted Expert Guarantee
Experts Have Been Vetted & Approved
Overall Rating:
Based on 2232 reviews